Time to start decaling. First up, I extracted this diagram from the files. Helps no end with sizes and positioning, when used in conjunction with the photos I put up in an earlier post.
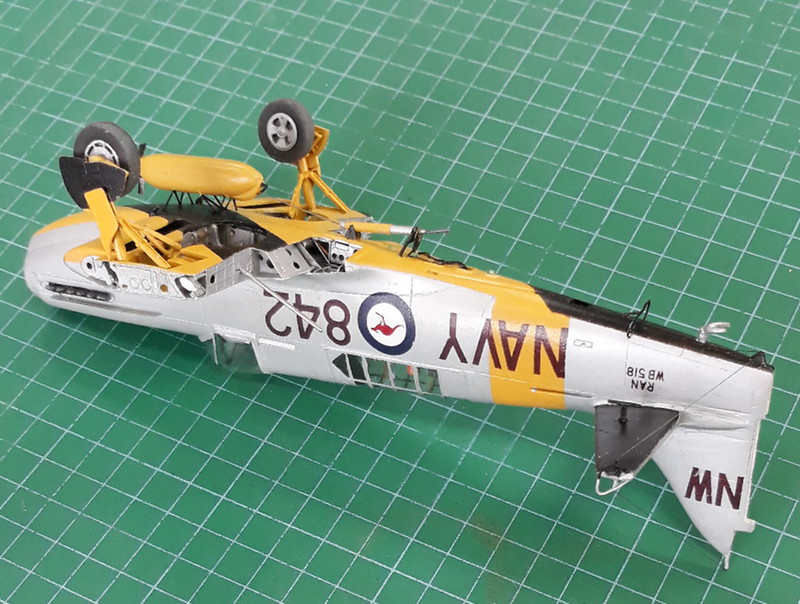
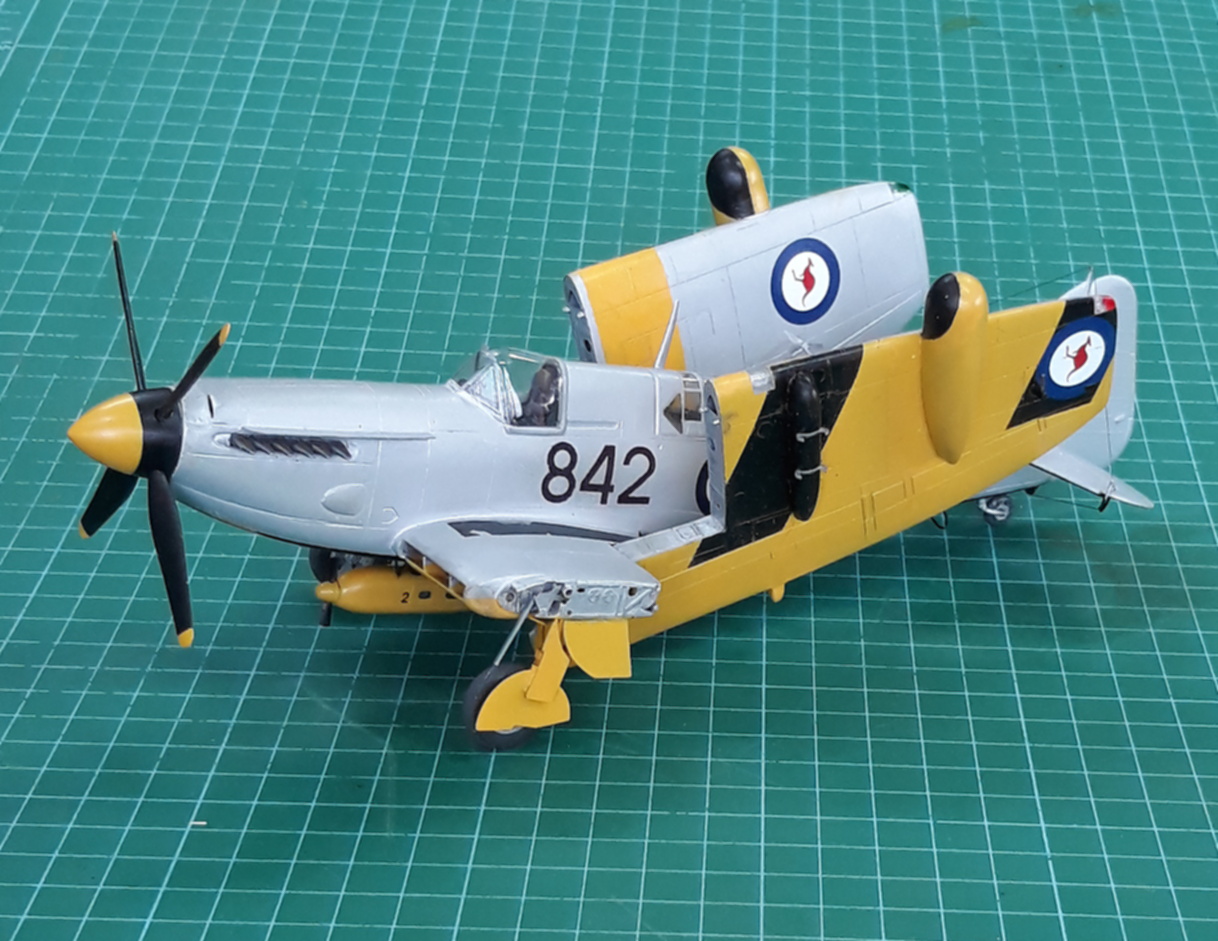
All major markings have been applied, as well as the protective wire that runs around the rear fuselage and empennage. And, yes, the fuselage side number is in different positions on this aircraft.


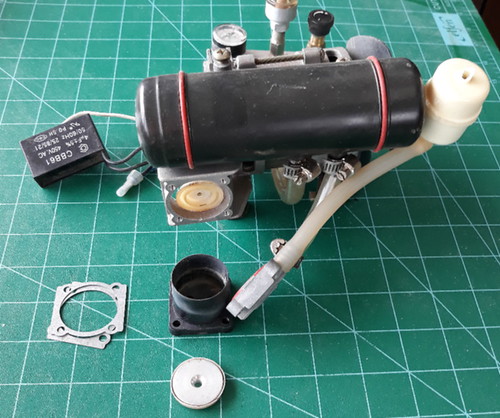
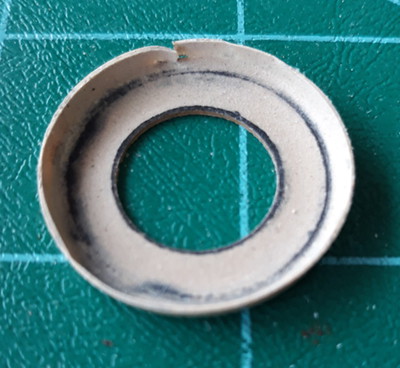
Next, I started to spray a clear top coat to protect the major marking decals while I added more detail to the wing fold. I had just about finished spraying when catastrophe hit! The pressure provided by my compressor dropped to 2 psi. Fortunately, I had covered most of the model by that time. I dismantled the compressor unit and eventually tracked down the culprit. Not as simple as a clogged regulator or leaking tube unfortunately. It turned out to be the diaphragm fitted to the piston. Unfixable, and probably unobtanium as a spare part. Also one of the problems faced by the 'long distance modeller' is the time taken to get kits, paints, parts etc - about 2-3 weeks minimum in this part of the world. So, it will be only be brush painting from now on, on this project.
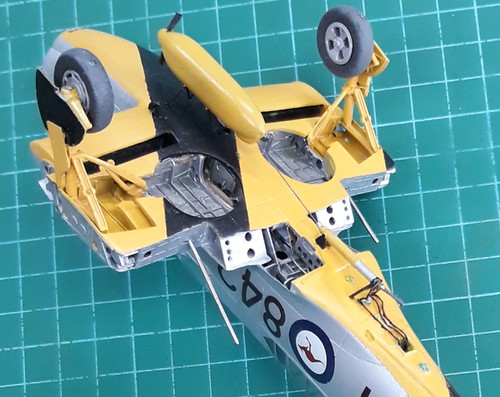
Next step is to make the hinge fittings, various locating pins and their sockets, the release mechanism, long range tank fuel pipes, air lines, armament control connectors, electrical connectors, etc etc. Added a few more doodads and doodahs to the wing locking/retraction mechanism. Fitted the winch and target tow gear.

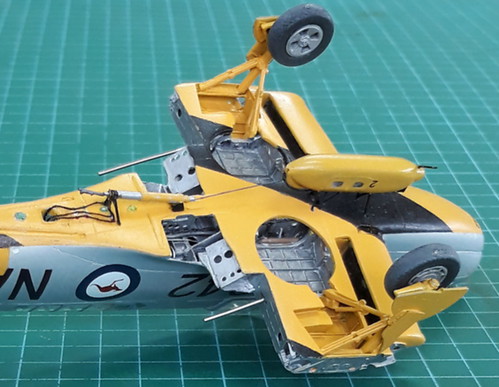
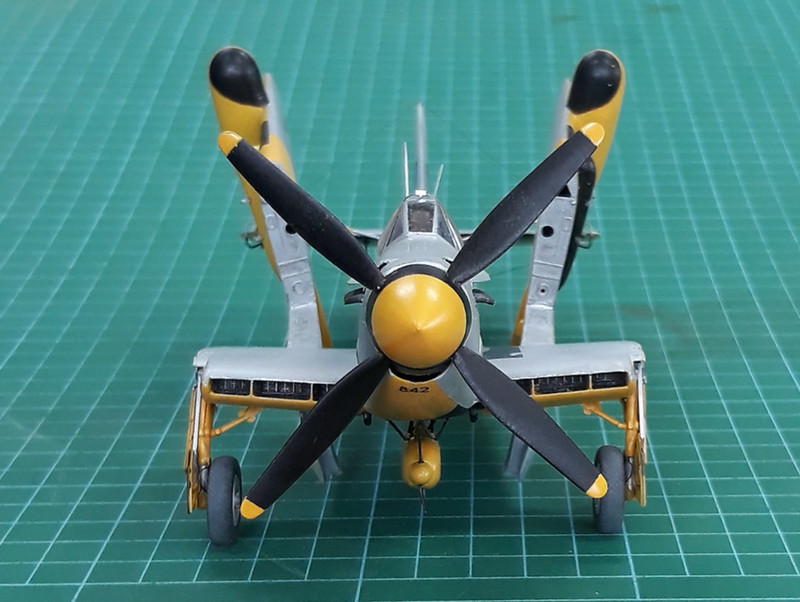
I wanted the model to look as thought the A/C was ready to go on a TT sortie, not just show the main items, which were the winch and buffer strut provided in the kit. Added were view windows on the side of the winch, the electrical cable from the A/C to the winch, and the tow cable running from the winch to the buffer strut. Three rings were fitted around the rear tube of the buffer strut, with target lanyards running from them to the ejection chute, via the retainers on the fuselage underside. Finally, I added the 'fish' (target exchanger), to the rear of the buffer strut. Fairly happy with the end result. After I added the photos here, I noticed that 'clumsy fingers' had managed to bend one of the winch prop blades - fortunately easily fixed.
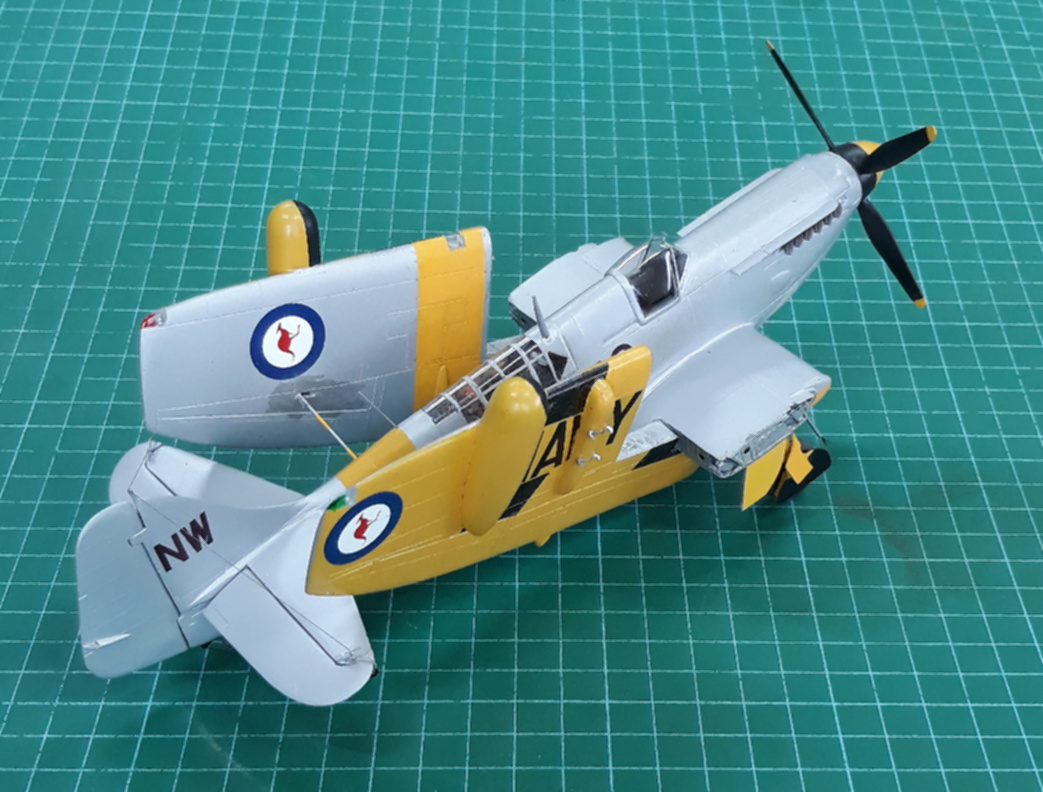
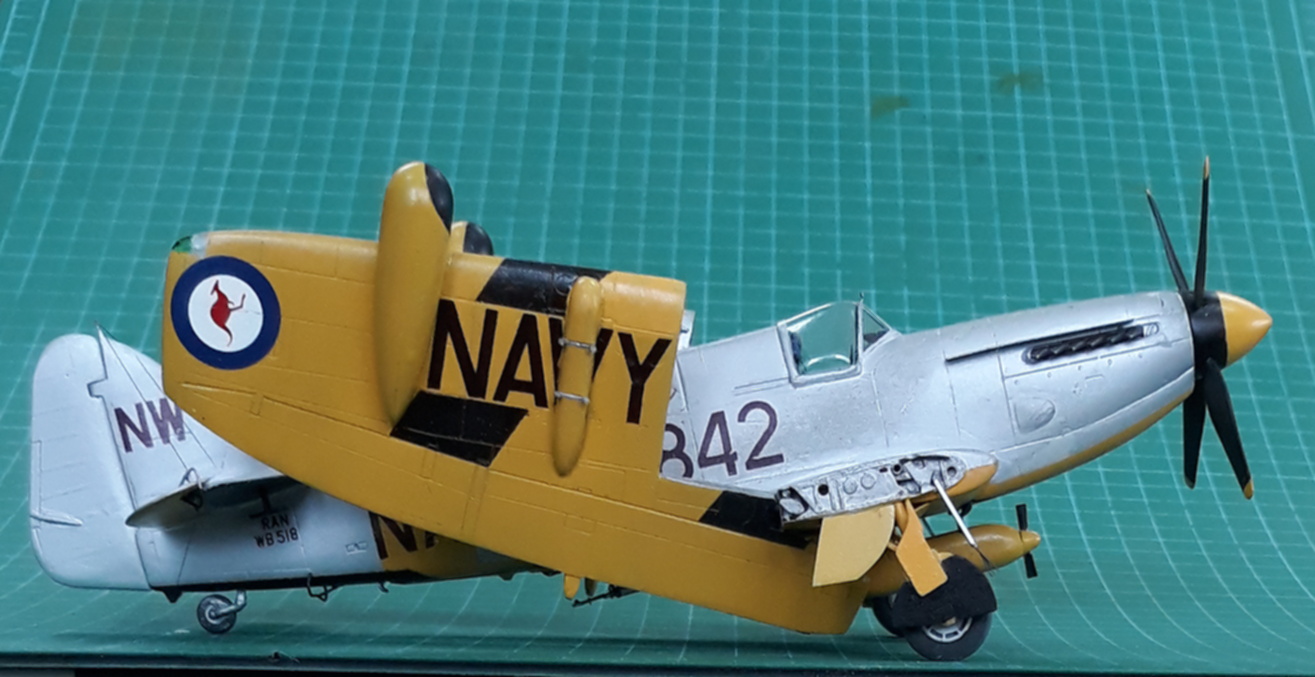
Oh, and those two bloody big metal bars extending from the wing trailing edge are meant to be there. You see Captain Blackadder, I have a cunning plan. They will provide the main support for the folded wings. Let's hope my plan is more successful than Private Baldrick's plans!!
FINISHED - WELL ALMOST! Just got to add the fairing doors that normally fit over the wing lock releases, (deployed on my model), and some stencilling and tiny writtin.. If you spot anything else that I missed - I don't want to know!!


Use the index button to return to the main issue 38/1 index.